
Calls and screen sharing
Camera, audio, sharing and annotations
Before joining
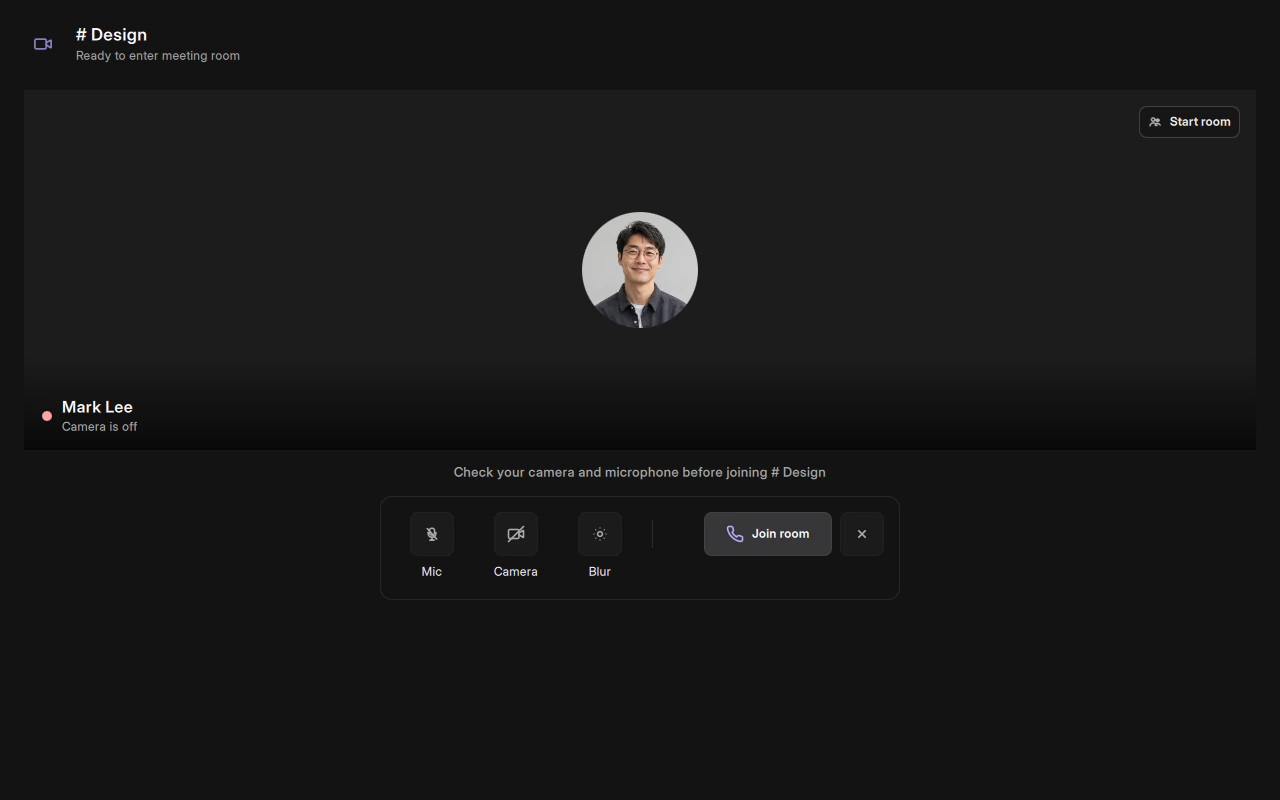
Open the meeting room and check your microphone, camera and background blur in the preview. Your self-preview is mirrored only for you. The Join button in an active room lets you enter or return to your call.
In the room
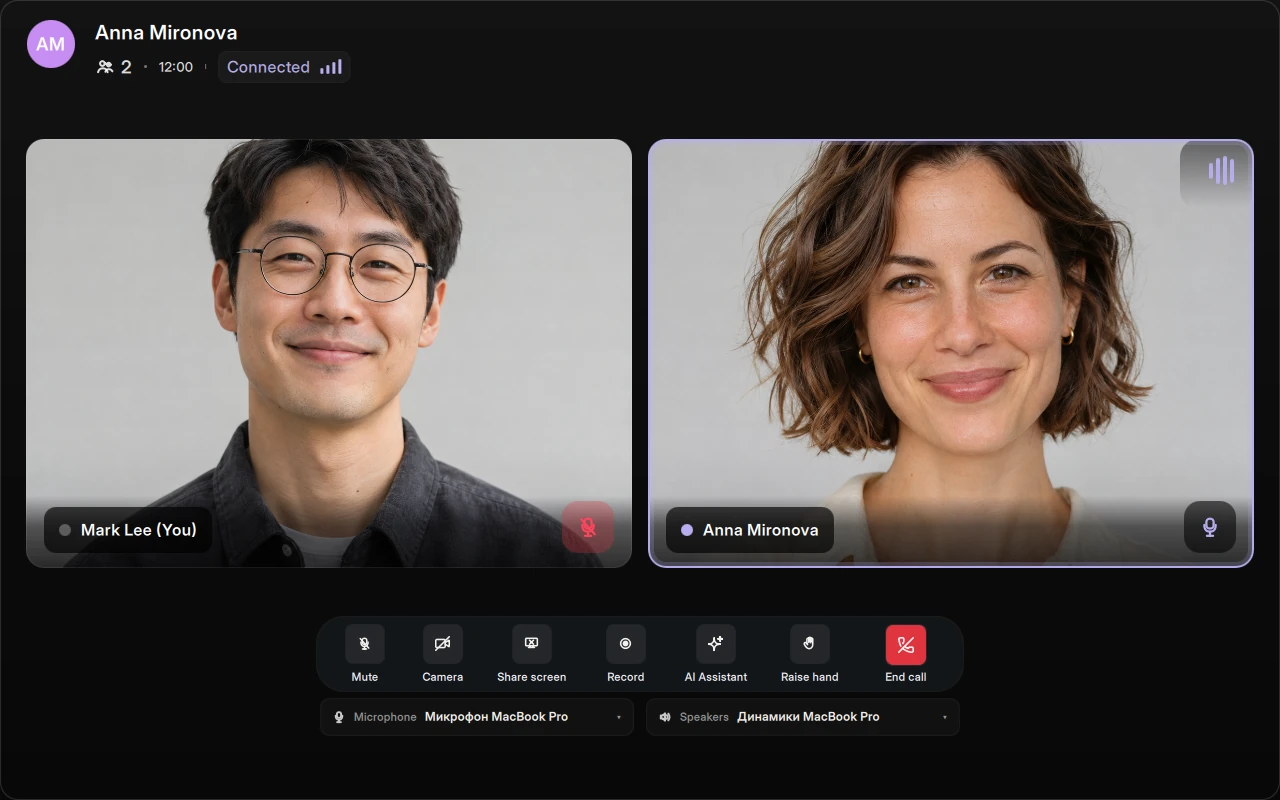
Participant tiles occupy the center of the window. Use the controls below to toggle your microphone and camera, share your screen or leave the call. Check system permissions before enabling your camera. The conversation continues for everyone else when the organizer leaves.
Share your screen
Choose screen sharing and select a display. On macOS, screen recording permission may be required; the camera and microphone also need their own permissions. During sharing, the presentation occupies the main area and participants appear alongside it.
The pencil opens annotation tools: color, thickness, eraser, undo and clear. Apply your choice to draw over the shared content.
Recordings and notes
Local recordings and meeting notes appear under Files. Assistant features depend on configured transcription and an AI-provider key. Do not assume recording is active until its indicator appears; agree on recording with the participants.
Describes the current implementation. Mobile availability and limitations are documented separately.